

What is the Correct Way to Use a Stainless Steel Food Mill?
A stainless steel food mill is the perfect tool for achieving smooth, lump-free purees, sauces, and soups by separating desired pulp from skins and seeds. While its mechanism is simple, using it correctly ensures the best results and extends the life of your tool. Here is a step-by-step guide to the correct way to use a stainless steel food mill.
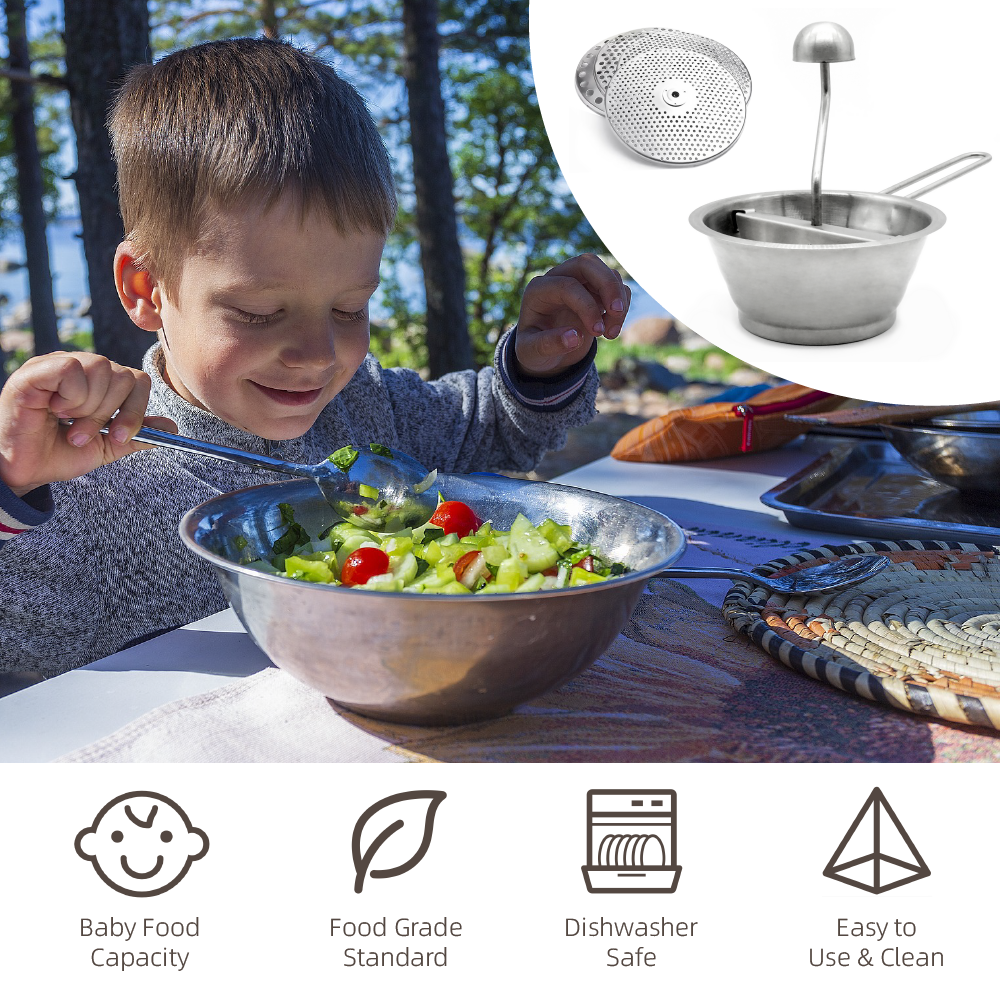
Step 1: Prepare Your Ingredients
The first step to success is proper ingredient preparation. For most applications, like making tomato sauce or applesauce, you should cook your ingredients until they are very soft . This can be done by boiling, steaming, or roasting. The softer the food, the easier it will pass through the mill’s perforations. While some tougher foods can be processed raw, pre-cooking is generally recommended for optimal yield and texture. For foods with large pits (like peaches), make sure to remove them first, as they can damage the blade.
Step 2: Assemble the Mill Correctly
Before you begin, ensure your stainless steel mill is properly assembled. Place the desired grinding disc into the bottom of the mill's bowl. Food mills typically come with discs of varying hole sizes—a fine disc for silky purees and baby food, a medium disc for sauces and jams, and a coarse disc for chunkier textures like mashed potatoes or ricing vegetables . Secure the disc in place according to the manufacturer's instructions, which usually involves a twisting or tightening mechanism. Finally, attach the handle and the crank arm.
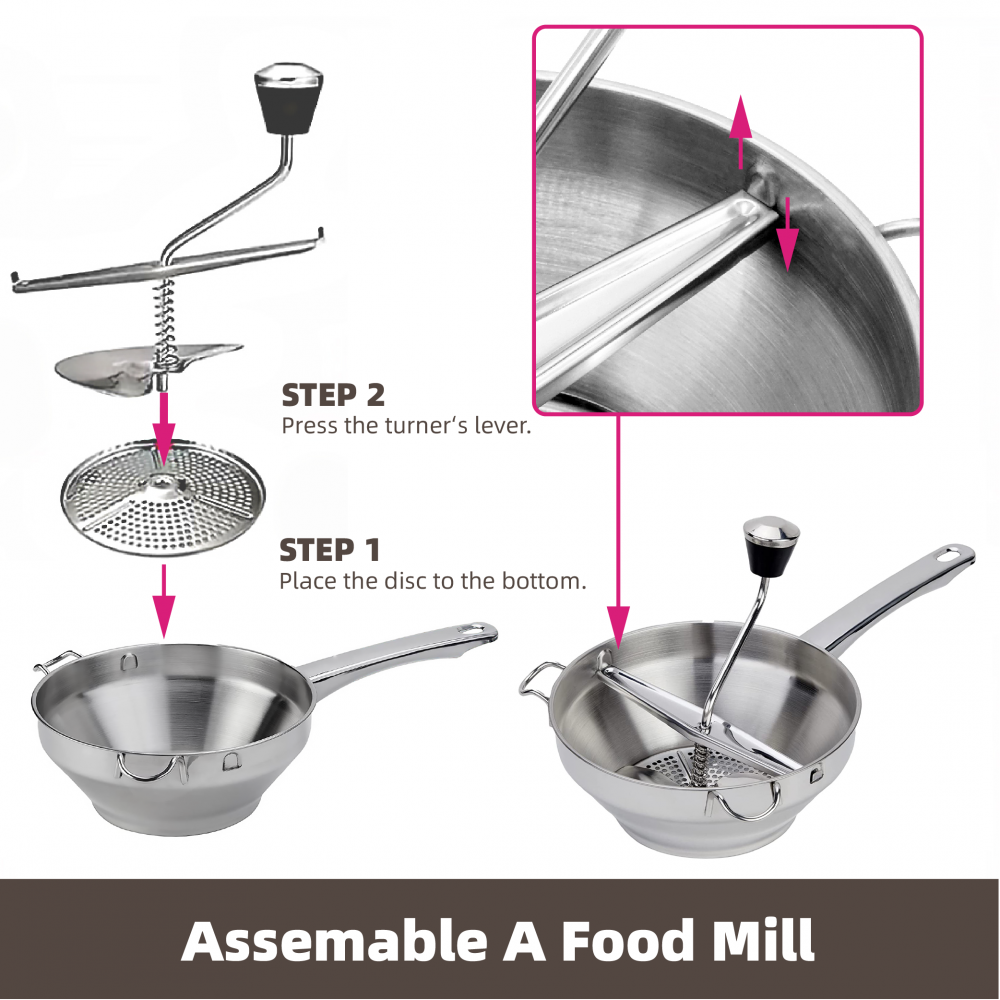
Step 3: Position the Mill Securely
A stable setup is crucial for efficient milling. The food mill is designed to be positioned over a bowl or pot that will catch the smooth puree. Most models come with legs that have notches or tabs on them. You can securely hook these legs over the rim of your pot or bowl to hold the mill in place . This "hands-free" stability allows you to focus all your energy on cranking. Ensure the receiving bowl is large enough to handle the volume of food you are processing.
Step 4: The Milling Process
Now, for the main event. Add a few ladles of your cooked, soft food into the mill's hopper (the top bowl). Do not overfill it, as this makes cranking difficult.
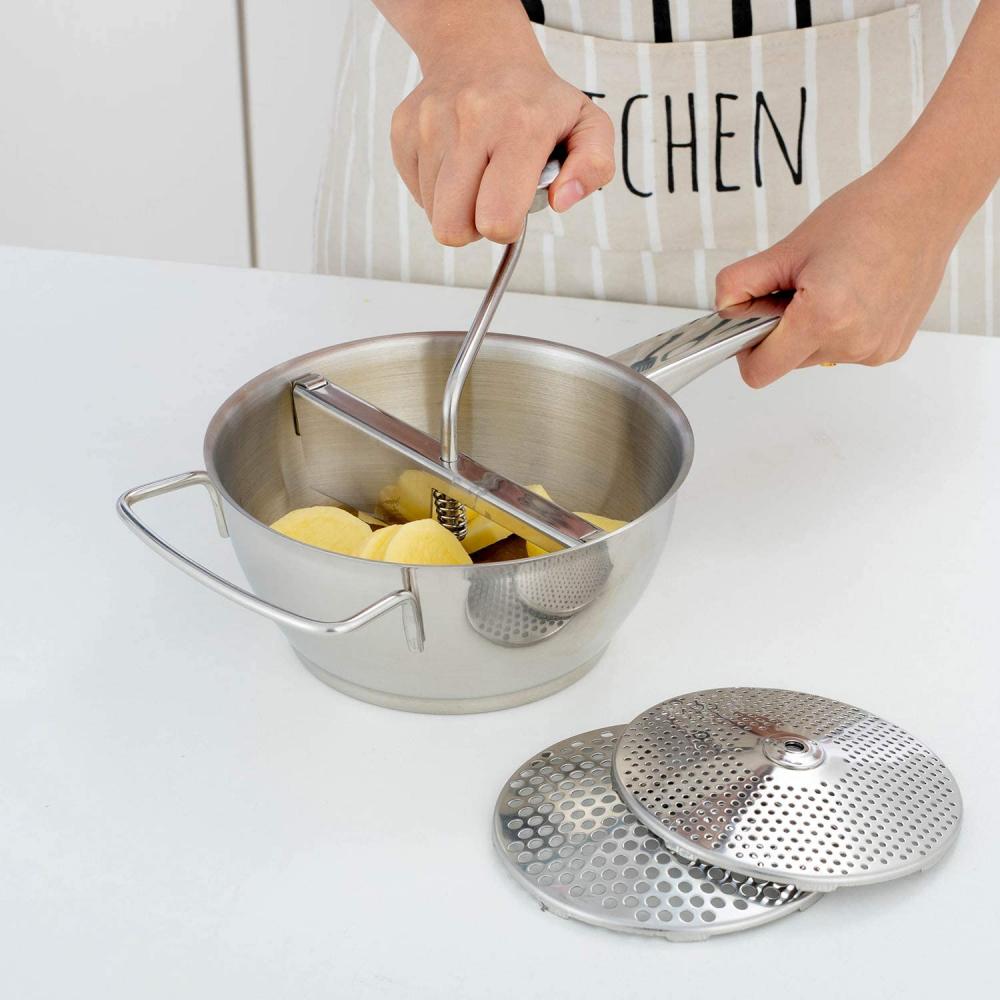
Begin turning the crank handle in a clockwise direction. As you turn, the food is pressed against the perforated disc, forcing the soft pulp and juices through the holes and down into your waiting bowl . The skins, seeds, and other fibrous material that cannot pass through will be pushed out of a separate chute or collect on top of the disc . Continue adding more food and cranking until you have processed everything.
Pro Tip: If the crank becomes difficult to turn, you may have a backup of dry pulp. Simply turn the crank in the opposite direction for a turn or two to dislodge it, and then resume cranking forward.
Step 5: Disassemble and Clean Immediately
Once you have finished, the final and most important step is immediate cleaning. The non-reactive nature of stainless steel makes it resistant to stains and odors, but dried-on food is still hard to remove. Thanks to its smooth, non-porous surface, cleaning is usually quick . Disassemble the mill by removing the crank and the grinding disc. Rinse all parts under hot water immediately. Most stainless steel mills are dishwasher safe, but a quick hand wash with soapy water will suffice. Make sure to dry all components thoroughly before storing to maintain its pristine, rust-resistant finish.